
First, I had to find a couple of twin beds with headboards that I could upholster and with rails that would be interchangeable. I already have an inherited set of twin beds, but the rails only fit with the headboards and footboards a certain way.

I found these at an estate sale. I set them up using both headboards with two rails to make sure the rails were interchangeable.

The headboards and footboards were both lightly padded and covered with this gold fabric.

The footboards are slightly shorter than the headboards, but they could make someone else a nice bed or daybed.

They have these cool old bolts that hold the headboards onto the rails.

First thing to do was take the fabric off. More staple pulling.
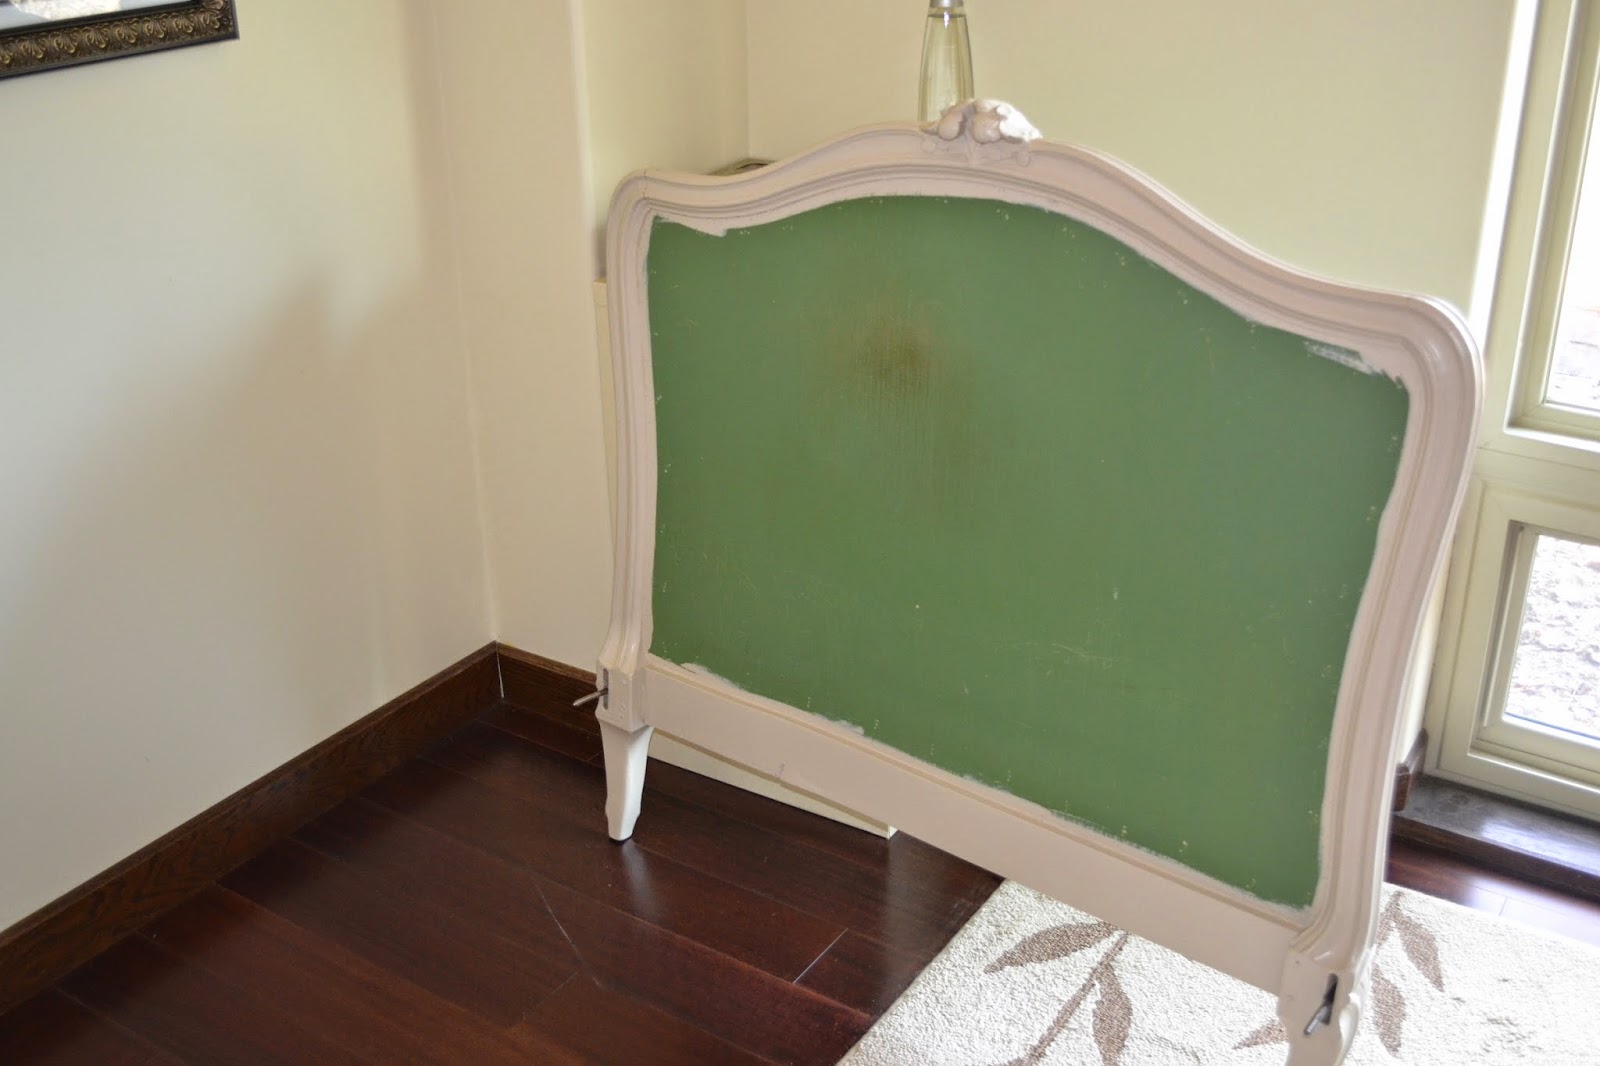
Then paint the frame. I agonized over painting the green and gold, but in the end, decided I wanted more of a neutral background for the fabric I chose to recover it with.

Besides, painting it this lighter color somehow made the carvings stand out more. I don't think these beds were originally upholstered because you see a dirty spot on this headboard that looks like someone's greasy head leaned up against it for years. I didn't paint over that particularly bit of history.

And the bolts. I don't know how old these beds are, but they are held together with wooden pegs. There are no screws and no nails other than four of these bolts and the brackets attached to the rails that holds the box spring.

I planned to button tuft the upholstery, so I started out by measuring and penciling on a grid (which you can't really see in this picture). That way, I was able to draw on different tufting patterns to see which I liked best. After making the final decision, I used my Dremel tool to drill very small holes for the thread to pass through.

I bought two inch foam for the backing. This is how I figured out that cutting the foam with scissors is not a good idea. Scissors will cut it, but it turns into a hacked up mess. Trust me - use an electric knife (which I did for my chair redo).

I was doing this and the chair simultaneously, working on one while waiting to receive supplies for the other. It just so happened that I did the tufting on this before I did the chair. If you double click on the picture to look at it up close, you can see what a mess the edges of the foam are. It ended up working out because I softened the edges by putting a layer of batting over it, but it would have been better if I'd cut it right to begin with.

Here it is, all tufted. I always thought that to do tufting like this, one would need to attach the fabric around the edges first, then just put the buttons in real tight. After following the tutorial I posted above, and doing it myself, I don't see how it would work any other way than tufting first, then attaching the fabric.

I was determined not to have this mess of staples on the back of the bed, but after trying two or three different methods, this turned out to be the only way I could get it done. I had a grand plan of using flat plastic buttons on the back, but I just couldn't make it work at the time.

So this is what the back looked like after getting all the tufting done.

And this is what the front looked like after I attached all the fabric and cut off the excess.

So, for the base of the bed, I found this low profile, five inch box spring on Walmart.com. It was just about fifty bucks and I had it shipped free to the store and picked it up from there. As is usually the case with Walmart, this is pretty much a cheap piece of junk. I don't know much about box springs, but I guess I assumed that they involve some sort of springs. Well, I don't know about other box springs, but this one hasn't even seen a spring, much less contained one.
I took that dark grey fabric off the bottom and saved it to use later. Under that fabric is just a wood frame with cardboard attached to the top deck. If you want to be a little craftier than I'm in the mood to be, you could make your own out of pallets and a cardboard box. Basically, that's all it is.
But, for my purposes, it works. I forgot to take pictures of the process, but all I did was put a double layer of batting along the front and back edges, stapling it to top and bottom, then I wrapped the whole thing like a package. I did make welting for the corners, but you can barely see it when it sits in the frame, so it probably wasn't worth the extra time it took to do that. Anyway, I stapled the fabric under the frame real tight, then used that dark grey fabric to finish out the bottom

Here's the box spring sitting in place awaiting the french mattress that I made. For some reason, I totally neglected to take pictures of any part of that. If you don't want to make your own, Target has them for a pretty good price. You could probably buy one and recover it with your own fabric.

I used the quick method of making bias tape for the welting on the headboards. It worked great. I highly recommend it.

Then hot glued the welting around the edges of the headboard to hide all the staples.

And, here is the finished product.

It's weird how I don't see flaws like this until I photograph my finished project, but I'm a bit bummed that I didn't pay more attention and pull the rumples out of the fabric as I was attaching it to the back of the headboard. The other end is nice and smooth, so I should probably turn it around so that it's "good side" will show.
So, if anyone is interested in making your own daybed, I have the footboards and rails that I will sell to you. I'll even help you make it.


3 comments:
You have been busy! You're so clever. This looks very professional. I kinda liked the green and gold, but also like the peacock and blue.
It looks really good..sometimes I wonder if the stuff you get and then repaint is like the stuff you see on Antique Roadshow..where people bring it in and the guy says, 'if it wasn't painted it would be worth a gazillion dollars..but since you did paint it, its worth $5." LOL
Love love love this!
Post a Comment