I bought the grass from Spring Hill Nursery. I've bought plants from them before and my experience has been that their survival rate is right about 50%. That's not very good, but I thought I'd try again. Besides, I had a coupon. If they don't survive, I'll definitely be taking advantage of their guarantee. I ordered the daylillies from White Flower Farm. I haven't ever bought anything from them, but they had what I wanted and they had a special on them.
I couldn't wait to get everything into the ground, although even after all that work, since the grasses are just sprigs and the daylillies haven't started growing yet, there's pretty much nothing to show for it. **sad face here**
There used to be a sprinkler system out there that was controlled from the house, but it had been broken or disconnected somewhere along the way and Husband couldn't find the break as hard as he looked. When he dug the area out for me, he just pulled the whole system up so I could put a stand alone system in. I intended to use a drip irrigation system, but it didn't quite work out that way.
Lowe's had Mister Landscaper products in stock, so I stood and stared at them for some time. The instruction flyers that hang on the shelves claimed that the installation was super easy.
But, when you're standing there, not knowing a thing about installing the system, looking at about 60 (seriously, there are 60 parts on that part sheet in the picture) different tiny parts that you're going to have to figure out what to do with, and you're already just making a barely educated guess on how much area you need to cover...things aren't looking very easy.
I almost did like I often do, and that is, get discouraged, decide this trip to Lowe's was just a fact finding mission, leave empty handed, ask for Tom's help when I get home. BUT, I told myself, "You are not leaving here without what you came for!"
So...I bought a KIT. Yay for kits!
And, it was easy. Everything I needed was in the kit. But, that's how I ended up with misters instead of drippers.
Following the step by step instructions on the box, I attached the Back Flow Prevention valve to the faucet. Well, I had an extra little step in there because we have those quick connect things on our faucets and I had to add that to my valve first.
Then I pushed the poly tubing onto the Faucet Fitting. The fittings have these locking collars on them that you just screw down over the tube and the fitting and it holds them together without letting water leak.
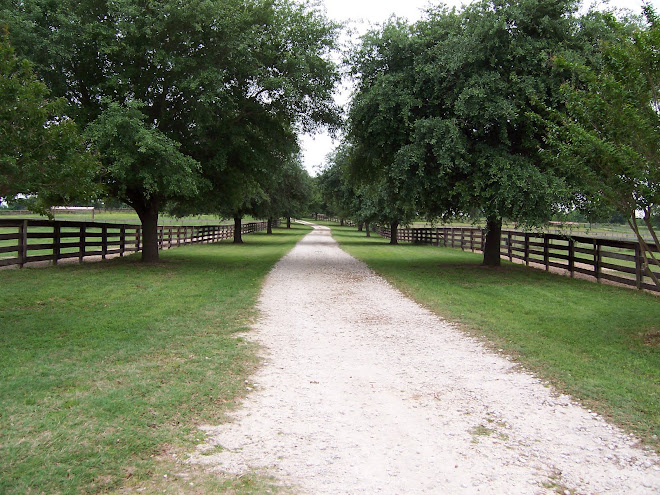
I ran the tubing from the faucet, behind the column and into the flower bed. Since I have two sides of the driveway to irrigate, I used a poly Tee Fitting to run the tubing in two different directions.
Then I ran the tubing through a little gap I had left between the column and the concrete brick edging, then under the cattle guard to the other side.
On each side, I ran the poly tubing the length of the bed.
To close off the ends, the kit included two of these Poly End Crimpers to crimp the end of the tubing and cut off the water flow. It just so happened that when I installed the concrete block edging, I couldn't put it flush with the brick column because the column's foundation sticks out a little. That worked out well because the tubing fit right into that little gap and it holds the tubing in place, preventing it from curling up. That was a lucky break.
Next, I used the hole punch (the largest orange item in the first picture) to pop a hole in the 1/2 inch tubing. Above is the Misting Stake Assembly. On the end of it's tubing, there is a Flow Controller barb that snaps into the hole that I made with the hole punch. These Misting Stake Assemblies can be attached anywhere on the 1/2 inch poly tubing that you need to put them.
I covered all the tubing up with mulch.
This is a sad little sprig of Pink Muhly grass. I wonder how long it will take for the grass to fill in the whole area?
There are all kinds of little attachments for the irrigation system, like half circle sprayers, full circle sprayers, spinning sprayers, center strip sprayers, goof plugs (in case you punch a hole in the wrong place), elbow fittings, etc. I'm going to have to go back to get four more Stake Assemblies to complete my project, but I'm very pleased with the kit overall. At least I know what to buy when I go back and I won't be overwhelmed with the array of choices. The only real problem I had was that the poly tubing crimped in several places when I was trying to straighten it out from the coiled shape that it was packaged in.


